
So one of the things you should know about me, dear reader, is that I’m a lover of checklists.
Small checklists…big checklists…and even *surprise* medium checklists.
I make lists probably when they’re not needed, but it’s just who I am…or how my crazy brain works (if I’m trying to protect my ego).
But is it really so bad that I love finishing watching shows from our DVR so I can erase it and see the list go down?
Please tell me I’m not the only one…
Anyway, I digress.
SO…I speak of all this as a longer-than-needed segue into my blog posting process, which includes…drum roll…a CHECKLIST! (I know, you had no idea…)
Because let’s face it…there are TONS of steps involved in:
- Creating your post
- Formatting it on your website
- Promoting it for all you readers to see
And since I don’t have the memory to remember all of them and where I am in the process week after week, I use Asana to create a project template that is chock full of steps/tasks.
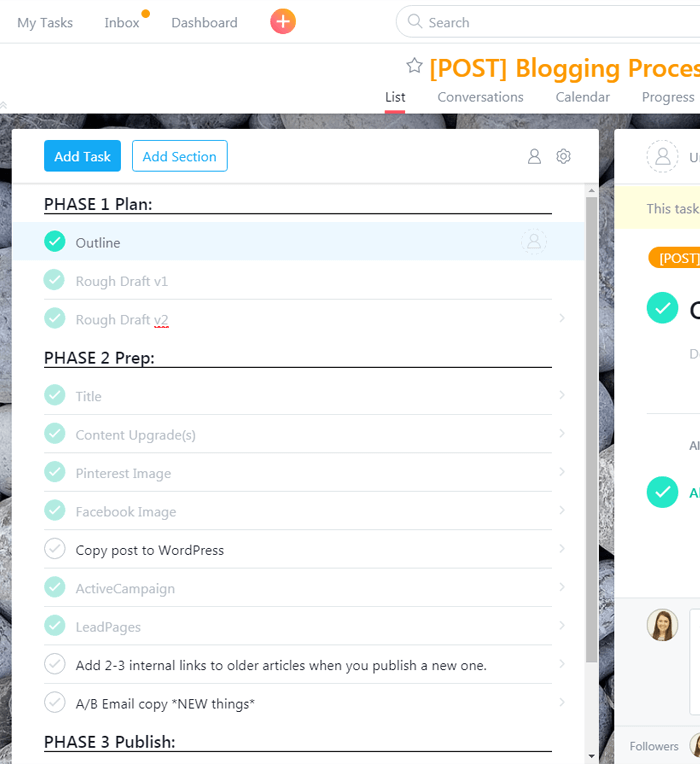
So when I’m ready for a new blog post, I clone my blog post template with an emphatic click of the “Copy Project” button.

And then the games begin. Or we’re off to the races. Whichever phrase gets you most excited to start a process…

Phase 1: Plan
So the first thing I do is come up with an idea. Or pick one from the list of ideas I came up with months ago.
Like for this one, I’ve kinda been answering some of the same questions about my blogging process to some of my email subscribers.
So I figured more people are probably interested (and hey, I’m right if you’re reading this…) so that’s why we’re here folks.
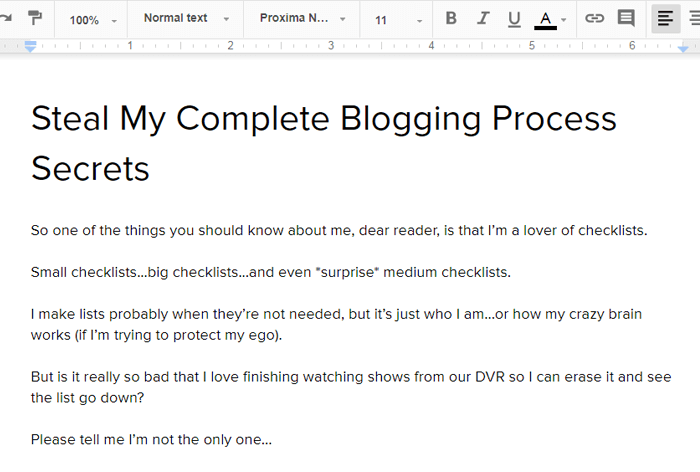
Anyway, once I hone down on my idea, I use a Google Docs to create an outline of the post, with an intro, body sections, and conclusion.
Note:
Why a Google Doc, you ask? Because that way I don’t have to worry about saving my document in Word every so often, and I can get to it on any computer in the house. (But mostly the first one…I’m paranoid and lazy).
Then once an outline is in place, I get to fleshing out the content (yuck…hate that expression).
This was the way I learned how to write essays in middle school, but I bet Mrs. Cross would never imagine I would still be doing it to write blog posts. Hopefully, she approves.
So usually I’ll just write for about half an hour and then I’ll come back the next day and clean/edit it up a bit. Or tweak it a lot if my writing was crap.
I also *try to* do some keyword research and try to incorporate the keywords into the first 100 words. But sometimes, I just wing it. Hey, no one’s perfect.
Phase 2: Prep
Alright, fair warning, this is a long step, but it’s also where the magic happens. So buckle up, my friend.
So once my post is written, it’s time to transfer it to WordPress and get it ready to be published.
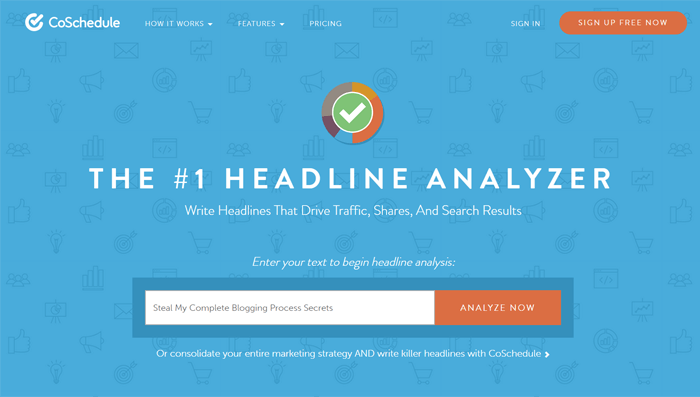
The first thing I’ll do is create a horrible title, then go to CoSchedule’s Headline Analyzer to see how bad it really is.
Note:
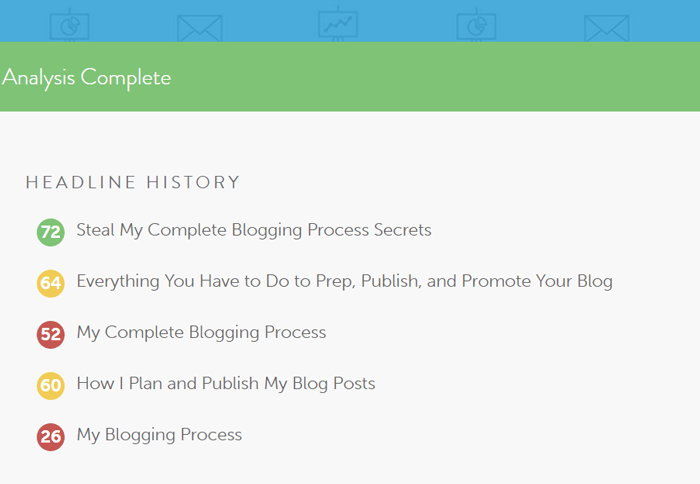
If you’ve never used the Headline Analyzer, it’s pretty simple. Pop in your title, and they’ll score it on a scale up to 100 (being best) on different factors.
Then I’ll spend a few minutes playing their little game of changing words to get my score higher. Once I reach the 70s I’m happy and I can checkmark this task done on Asana.
Use CoSchedule's Headline Analyzer to create powerful blog headlines. Click To Tweet
Then if my post has a Content Upgrade (like this post’s Blogging Checklist), I’ll probably create it in Adobe InDesign (if it’s a PDF).
Luckily, I’m not an InDesign sadist, so I always copy over one of my previous PDFs as a template so I don’t have to start from scratch.
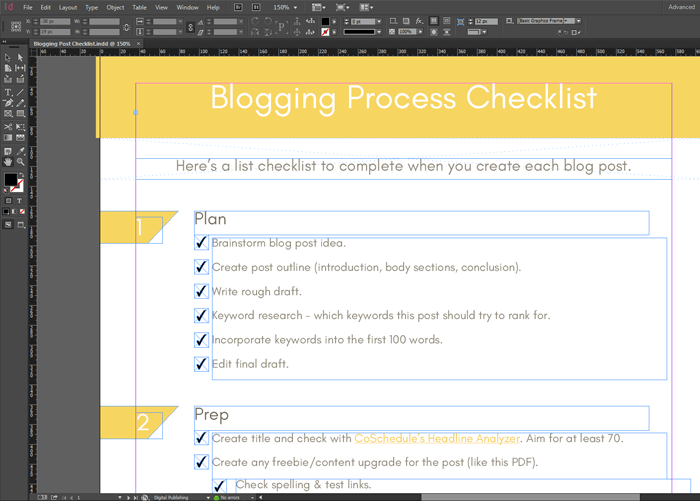
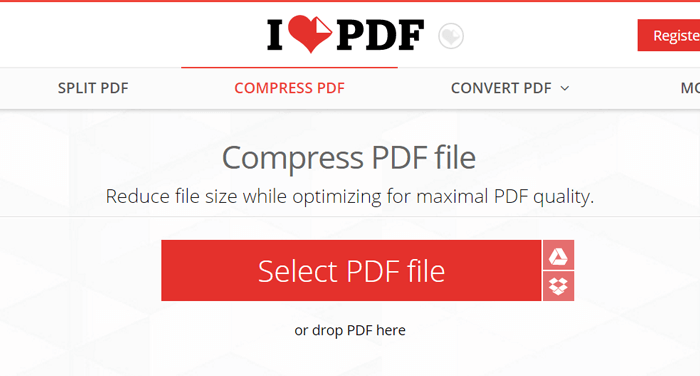
I have other subtasks that go into this main task, like checking for my disclaimer type, check spelling, compressing the PDF, and uploading to my website’s Media Library.
Sure I probably didn’t need the last step in Asana, as it’s pretty obvious I need to upload it to my site in order to give it to you. But I’m not one to forgo another task to mark off. And Asana, has a cute animation when I do…
Also for my content upgrades/freebies, I create a little visual mockup. So I have tasks to make sure I create the Photoshop mockup, export and optimize the PNG and upload it also to the Media Library (*wink*).
When I’m creating these graphics, I’ll also go ahead and create my Pinterest and Facebook social images in Adobe Illustrator…just while I’m in the zone.
I just use my template and create both of those images quickly, compress the images, and also upload them to my Media Library (*double wink*).
However, since these are images that need Alt Text, I’ll come up with the Alt Text description that’s SEO friendly and includes a strong call to action. This is especially important for Pinterest, I’ve been told.
Now that the graphics are all created, I then create a draft post to put them in!
(Can you believe we haven’t even gotten to the actual post yet!? Told you this was a long one…)
I’ll usually clone one of my previous posts, as it has sections in it that I use often (content upgrade areas, conclusion, disclaimers, etc.).

Then I’ll rename the post with my new title and use a short and sweet URL that includes my target keyword. I’ll also update my WordPress tags and category while I’m at it.
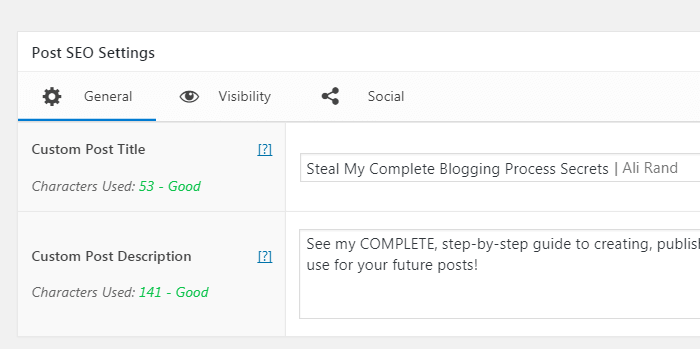
And I’ll go down to my SEO section to write in the title and meta tags (making sure they’re in the green for length and words – Thanks The SEO Framework!), and then upload the Pinterest featured image and Facebook social image.
Once I’ve gotten this down, I’ll schedule the post which saves my work so far.
So now I need to pop in my actual post, and replace the cloned post’s content.
But before I do that…(oh, you didn’t actually think we were ready for putting the post in WordPress yet, did you? I warned you earlier…)
I copy my post into Microsoft Word and do a Find and Replace search for abbreviations.
I’ll replace abbreviations like “SEO” with SEO so that it helps screen readers. I do this for “ex.” “etc.” “i.e.” and other abbreviations. Because it’s faster to do a Find and Replace for all of them in Word, than doing it manually in WordPress.
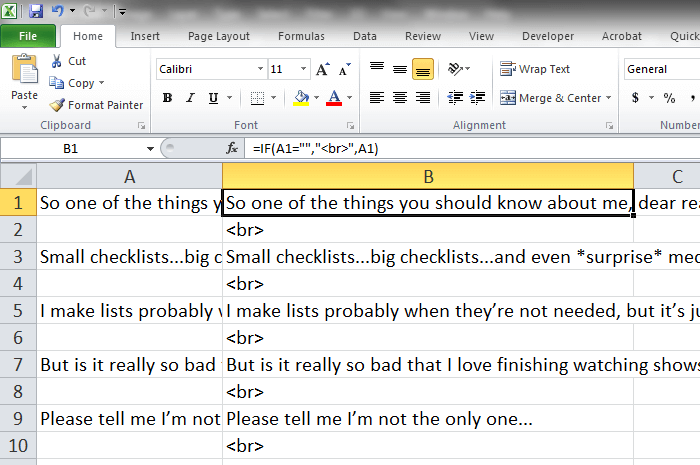
And since I disabled my Visual Tab in the WordPress content box, I only use the Text (HTML) Tab.
Which means, if I don’t insert manual code breaks into my copy, everything will be smushed together with no returns/empty lines between the sentences or paragraphs.
So, I got smart and use a Microsoft Excel sheet to paste my post into Column A. And in Column B, I have an IF statement that inserts “
” into the lines that are blank. So I just need to copy all the Column B copy and….paste it into WordPress (HALLELUJAH, we made it!!).
Now that my words are in WordPress (did you see what I did there?), I’ll make sure the right headings are used (H1, H2, H3, etc.) and I’ll try to include my keyword at least once in an H2 or H3 heading.
Then once the post is looking good, I have other things I try to include:
- At least 2 external links to authority sites
- Internal links to my other posts/pages
- Internal links at the top of article
- 2-3 Click to Tweet sentences
I’ll also go ahead and check that my conclusion and call to action is appropriate for this post and I have my disclaimer, if needed.
Since all the words are in, the last thing is adding images, video, and/or audio. This is what makes my posts worth reading the usually 2000 words. Because I know NOBODY would read them if there were no images breaking up the copy.
So I’ll then take some time to find media that work well in the post and add them in. If it’s an image, I’ll make sure the file is renamed with keywords, it’s compressed and includes descriptive Alt Text. Because I can’t just paste images into WordPress. Nope, that would be too easy and bad for my website.
The last thing I’ll need to put in the post is my form for my freebies/content upgrade.
You can read my tutorial for exactly how I do that here:
But basically I’ll create a tag in ActiveCampaign and add that to my Tagging Automation. Then I’ll clone a popup and replace the Call to Action, and Lead Magnet Name and URL.
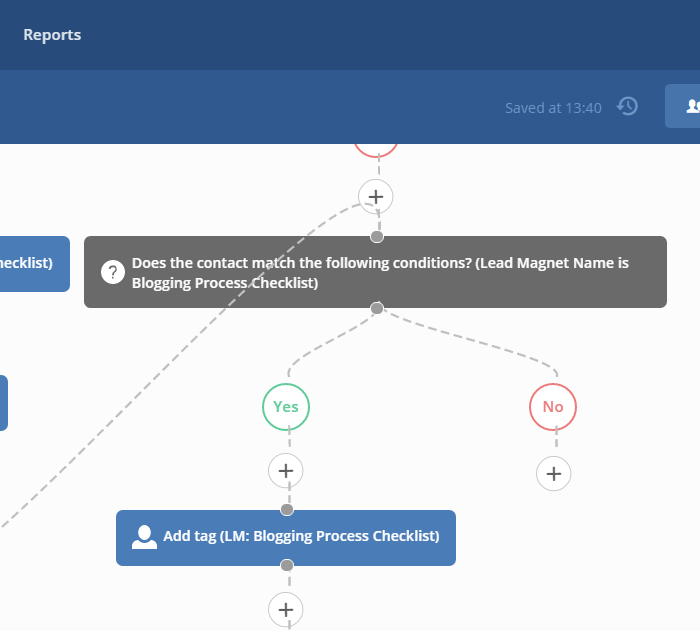
I’ll pop that code into my Lead Magnet sections in my post and test it out before resetting the open counts in Popup Maker.
Yes, it’s confusing, so go read that post I mentioned…plus I have a video walkthrough…
Now that the post is ready to go and will launch on its scheduled date, I’ll go ahead and create my email to let my email list know.
So in ActiveCampaign, I’ll schedule an email for a few hours after my post is published (in case I need to change something last minute).

I usually write a little teaser and include a pre-populated Tweet that my subscribers could use to promote it. At least I hope they do!
Add prepopulated Tweets in your email marketing to increase shares. Click To Tweet
Phase 3: Promote
Alright, if you’re still with me, congratulations! You’re a trooper and I love you!
Because now it’s time to travel in time! And we don’t even need a flux capacitor…
***Blog Post is Now Published***
So now it’s the morning my blog post has been published and is live to the world! Hip, hip, hooray!
But in classic Ali Rand fashion, there’s also a to-do list needing to-doing. (However, it’s not nearly as long as Phase 2…I know, you’re welcome).
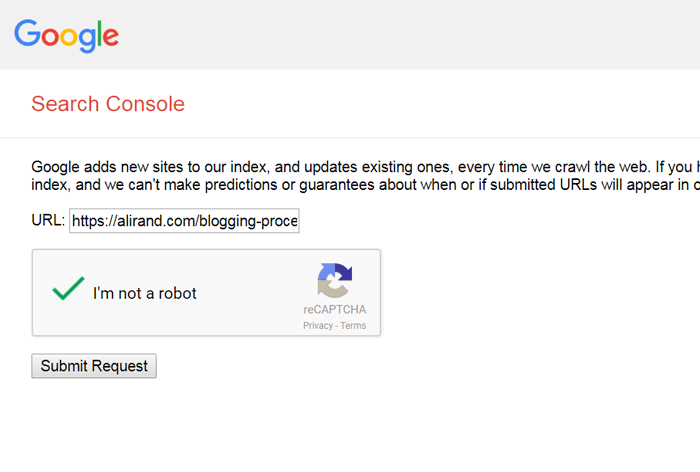
I first publish my URL to Google’s Search Engine. Not sure if it’s needed, but if my post is indexed faster for search engines, that’s a good thing!
Then I’ll schedule my post to Pinterest using Tailwind…because ain’t nobody got time for manual pinning.
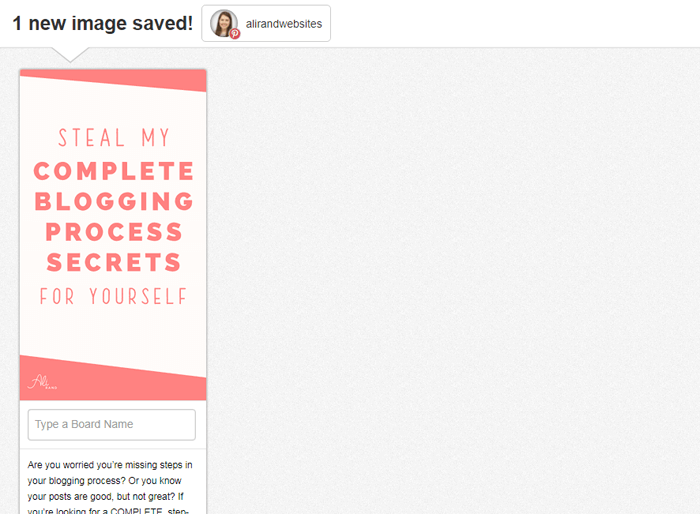
I schedule it to my own board, my tribes, and then my related group boards. (And hey, if you have a group board related to blogging, business, or web design, please let me know! I’m always looking to join more groups.)
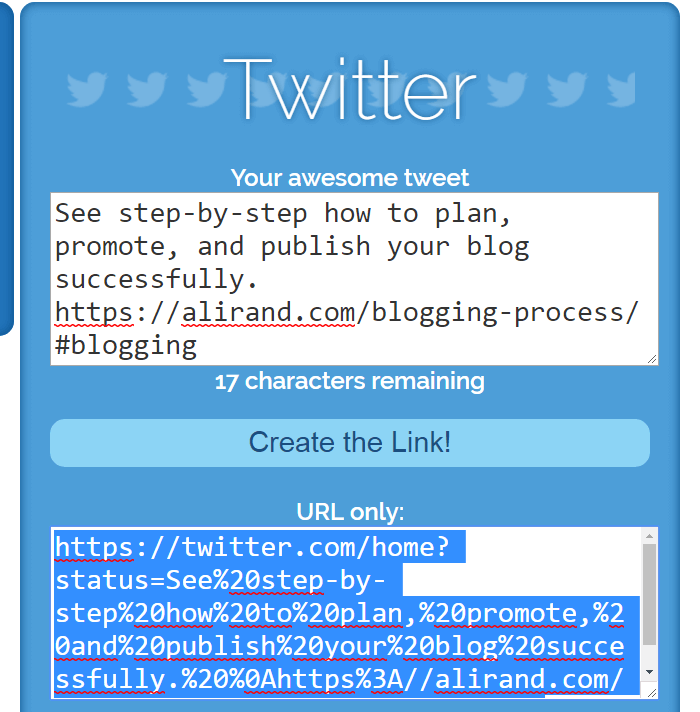
Then I go onto Hootsuite, and schedule my Tweet, Facebook post, and Google+ post.
Since I already came up with a great Alt Text description before, I just copy that as the content of the posts.
Note:
For Twitter, I usually have to shorten it and add hashtags.
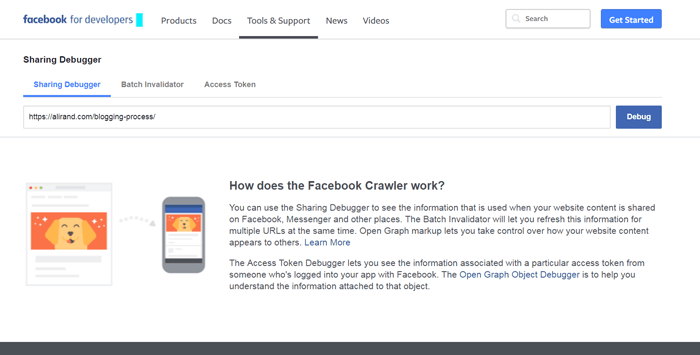
I’ll also usually Facebook Debug my URL to make sure when I’m promoting it on Facebook group boards in the next two weeks, I don’t have where the page preview isn’t displaying right.
Once social media is done, I’ll update my email signature with the new post and link.
And then I’ll look through my past blog posts for areas where I can link it in as a related post. Like this one:
Ok, guys, it’s time to travel in time again…
***1 week later***
I’ll now resend my blog post email to my list, but for only those who HADN’T read/opened it last week. I actually wasn’t doing that correctly a couple of times ago, but I’ve figured out my mistake.
I’ll change the subject line and see if I can get more subscribers to read it.
Conclusion
And that’s it!! That’s what I’m always working on throughout the week to prep, plan and promote my blog posts.
I’m sure you see why I use Asana or else my head would explode!
And that’s why I highly recommend you download my PDF checklist for this blogging process. If you don’t use Asana, you can just duplicate it when creating your own awesome posts. Or download it as a guide when creating your project template in Asana or Trello or whichever program you use.
Some of the links contained in this post are affiliate links. This means that I may receive a commission if you click on the link and make a purchase from the affiliate. I only recommend products and services that I know or trust to be of high quality, whether an affiliate relationship is in place or not.


34 thoughts on “Steal My Complete Blogging Process Secrets”
Love this! So many helpful tips and can’t wait to try out Asana for ourselves!
Awesome! And yep, I love Asana! It is amazing for projects. Thanks for visiting!
Thank you for the checklist and the tip to use Asana, I am always looking for ways to get organized
I’m glad you enjoyed the checklist! And yep, I love organization, so Asana makes it so much easier for all the steps in blogging. Thanks for commenting, Jody!
What great information!
Thank you Theresa! Glad you enjoyed it.
This post is AMAZING!! I’ve pinned & bookmarked it so I can come back and go through it while I’m getting my next post ready.
Aw thank you so much Jolinda!! Yep, it’s taken me some time to create a system, but I’m always glad to share it with people. Thanks for commenting!
You’ve got this blogging thing down to a science! I love it! Definitely subscribing! I could use your tips!
Haha almost, Daneisha! I just don’t work well in disorganized chaos, so I have to organize everything lol. Thanks for subscribing and commenting!!
Wow this was super helpful! Thank you very much for sharing! I’d really like to try Asana!
Thanks so much! And definitely try Asana out…its free version is really generous and comprehensive. Thanks for stopping by!
Love this post! I’ve been blogging for years, but some of the tools you use are new to me and it’s always good to learn about new methods of doing things.
Glad you’ve kept the blogging up! I’m still pretty new to the game. But yes, you’re right that it’s good to learn new methods. I always keep tweaking with new data or info!
Sooo helpful! Thanks for sharing.
You’re welcome! I’m glad you’ve enjoyed my post and thanks for commenting, Jameelah!
This is great organization. Thank you for sharing it.
Thanks Lois! I do try to keep organized lol Thanks for visiting!
Job well done! Very thorough and helpful write up. Hadn’t heard of the headline analyzer. Just ran one through and got a 75. Really cool!
Awesome! You’re a lot better at writing headlines than I am lol. Glad you enjoyed this post and found it helpful! Thanks for commenting, Ashley!
Thank you for sharing all this information! I didn’t know the Headline Analyzer but I’ll use it from now on.
Yep, the Headline Analyzer is such an amazing free tool, so definitely check that one out! Thanks for stopping by, Salvador!
Your tips are awesome, makes me want to write a blog.
Thanks so much Sharon! Hope you do write a blog as it’s a wonderful experience that I’ve been enjoying so far.
For a newbie blogger this was great. Thank you!
Yay for just getting started! It’s fun process and I’m glad you’ve enjoyed it. Thanks for stopping by.
Wow, this was pretty detailed. You gave great detailed step by step tips. I am pinning this. Thank you for sharing it.
Thanks for sharing Megan! Yep, I tend to be pretty detailed…for better or worse lol. Thanks for commenting!
Wow, as a newbie blogger this is a wealth of information! I’m definitely bookmarking this for later. I’m a list person too and will be following your tips.
Awesome to meet other list people and glad you’ve found it helpful! Hope you’re having fun blogging and thanks for commenting, Caroline!
This was so incredibly helpful. Thank you so much for the in depth post, yet easy to understand and implement post! Can’t wait to implement these tips 😀
Thanks so much June! I’m really glad you found it easy to understand and actionable. And hopefully it helps your blog! Thanks for stopping by.
These are great tips! I never thought about the headline analyzer. Thank you for the tip!
Thanks Nicole! Yep that tool seems to be one that is a little of a secret, but it’s really fantastic — and free! Thanks for stopping by.