You’re super excited and pumped. You’re ready to help and serve people all over the country (and even the world!).
And then you realize you’re going to need a top-notch website to be super successful and compete with everyone else.
But…you don’t know where to start!
Domains, hosting, WordPress themes…the list goes on and on…
The good news is that it isn’t as complicated as you think! You can totally do it and I’m going to lead you step by step.
And to keep track of what you’ve done and need to do, download your checklist…
Important Note:
Before we can get into the actual building of your website, you need to have planned it out beforehand.
Many people jump ahead, purchase their hosting, domain, theme, and then start to build their site from there.
And usually you end up with something scrambled together that you aren’t absolutely in love with.
You rationalize that you can always change it later…but you never seem to find the time. And then you’re spending money every month on a website that isn’t bringing in the consultations or sales.
I don’t want you to waste your money and your time.
If you plan your website out, it'll be much faster (and easier!) to build later. Share on X
And as a web designer, I can’t even start to build until the client and I are clear on what’s being built.
To guide you through designing your perfect website, read this post first:
*cut away to you planning your site, deciding pages, colors, images…*
Ok, welcome back!
Ready to make your vision come to life?
Let’s do this!!
Some of the links contained in this post are affiliate links. This means that I may receive a commission if you click on the link and make a purchase from the affiliate. I only recommend products and services that I know or trust to be of high quality, whether an affiliate relationship is in place or not.
Section 1: Setting Up Your Website
Domain Name
While you can build a free WordPress website, it will be yourdomain.wordpress.com.
To portray your business in the most professional manner, you’re going to need your own domain name. Share on X
So, how do you do it?
To create your own website, like example.com, you’ll need to purchase your domain name.

Once you know what you want your website called (with some alternatives), don’t first check that it’s available in those domain checker sites.
Why?
Because there are some companies that have an algorithm to check what people are typing and desire. Then, they’ll buy it and charge you a fee later. I know, super shady…
But if you have some alternatives, you can usually get one of them at the time you purchase your domain.
Now you can either purchase your domain through sites like GoDaddy or NameCheap, or you can purchase it at the same time you purchase your web hosting package.
The latter can be easier for first-timers as no transfer is necessary. But if you do purchase a domain not with your hosting, you will need to find out how to use your domain with your hosting company.
They will usually guide you through this. Just note that in some cases you aren’t allowed to transfer your domain within 60 days of purchasing it.
Hosting
The next step is to purchase your web hosting. A web host is the server on which your website lies and makes it visible to the public.
There are a LOT of web hosting companies out there. And if you do research, you’ll realize the reviews are very mixed.
In my case, I researched so many hosting sites before setting on MDD Hosting, which was a company I hadn’t heard of before. But since the reviews were all positive, I decided to take a chance on them and I’m glad I did.
While the premium plans run a little more than other companies, for what you get – speed, uptime, space, subdomains – it makes it worth it.
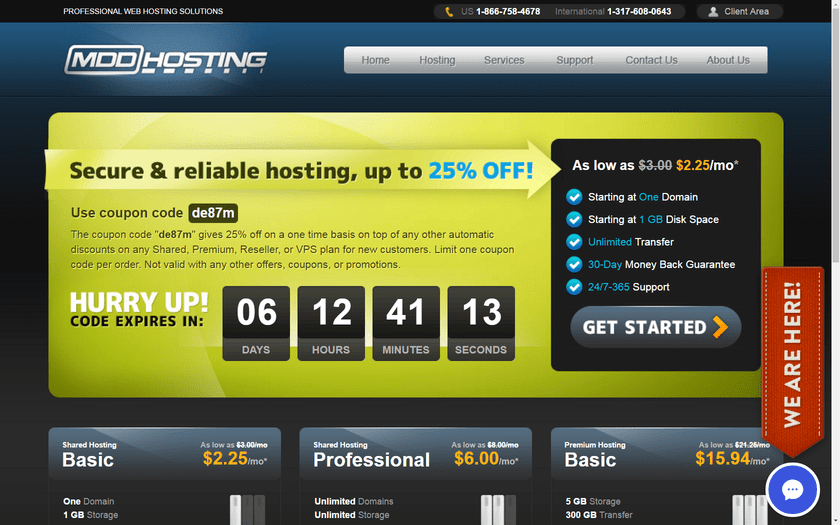
>> Click here to go to MDD Hosting
Another popular option is SiteGround with fairly inexpensive plans. Everyone seems to love them as their support is phenomenal and they’re not EIG! (They were my second choice, but more expensive than MDD, so I went with MDD as I am frugal!).
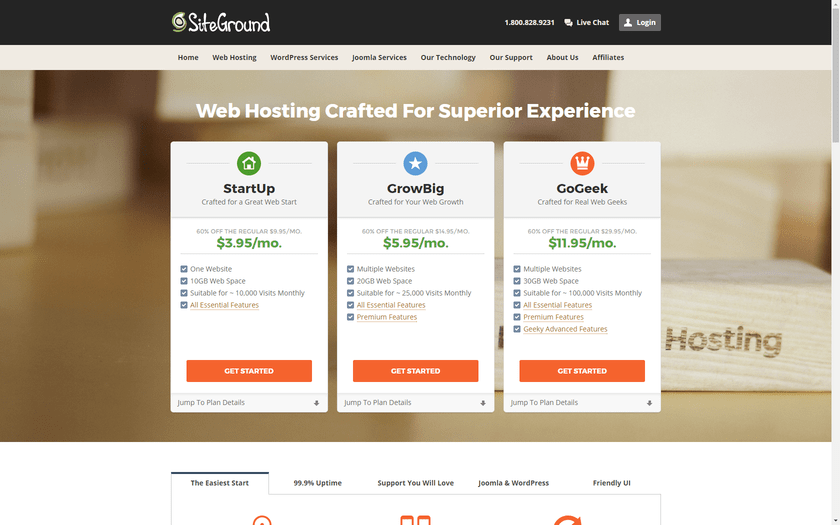
>> Click here to go to SiteGround
You will want to do your research to find the right hosting company for you. Because just because you know of a site, doesn’t mean it’s great. Especially if this is your first website.
So do your due diligence by googling “name of web host + reviews.”
I recommend visiting WebHostingTalk before you purchase one host, because it’s a great forum with a lot of great information and advice on hosting. They sometimes even post discounts, which can save you money when you purchase one.

Once you decide on a reputable company, you’ll need to decide what level of hosting you need. Although some are as little as a few bucks a month, if you want a faster site with more space, you can pay upwards of $15/month.
If you’re just starting out, I recommend the least expensive shared hosting package. It’ll be fine with low traffic. When your site grows, you can always upgrade to a VPN or Cloud Hosting, which can better manage higher traffic and resources on your site.
And you’ll want to make sure the features included in the plan are what you need.
- Are free emails like @yourdomain.com included?
- How much web space is available?
- Is free Secure Sockets Layer SSLincluded (this is a security measure)?
- Is cPanel available (this is an amazing portal to your site)?
- Are there traffic restrictions (so you won’t get penalized if your monthly site visits increase)?

Once you decide on your hosting (and have checked around for discounts), you just purchase your hosting and/or domain online and they’ll let you know your login to your dashboard.
From there it’s time to…
Install WordPress
There are two types of WordPress – one is WordPress.com and the other is WordPress.org.
The WordPress.com means that your website is owned by WordPress and it usually is example.wordpress.com.
WordPress.org is self-hosted. That means that you will install it onto your domain/hosting plan. You own it and have full control, and aren’t restricted like in the free version.
Because of WordPress’s popularity, it’s now (usually) super simple to install WordPress onto your website.
You’ll need to login to your hosting dashboard and usually navigate to the popular control panel interface, cPanel.
If your hosting doesn’t use cPanel, then you’ll need to find out where to install WordPress.
Once you’re in cPanel, there will most likely be a button for WordPress. It might be at the bottom with other CMS buttons.
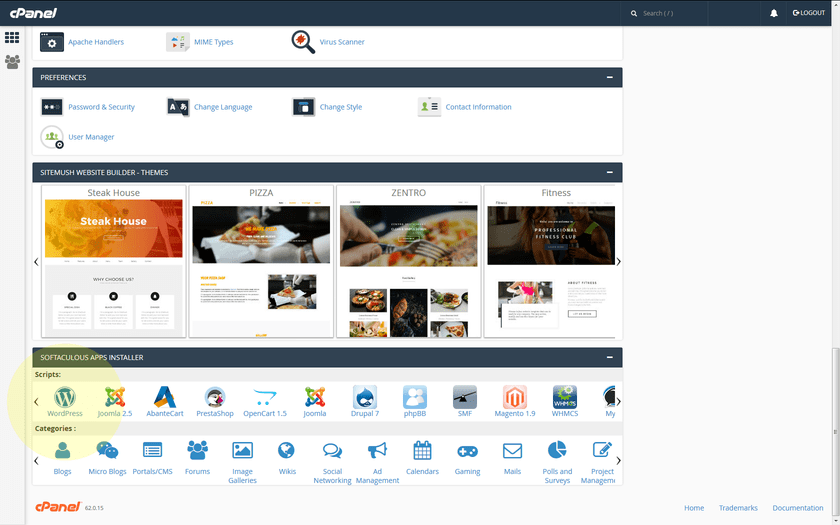
After you click on that, you’ll follow through the installation window.

When it prompts you for a username to create, just remember to choose something unique – not admin/administrator. That is the first thing hackers try when brute-force attacking a website.
And for a password, choose a strong password that has more than 10 characters and special characters. Don’t make it easy for people to guess!
Once WordPress is installed successfully, you’ll be redirected to WordPress’s login screen. Use the credentials you’ve just set up to login to be redirected to WordPress’s dashboard.
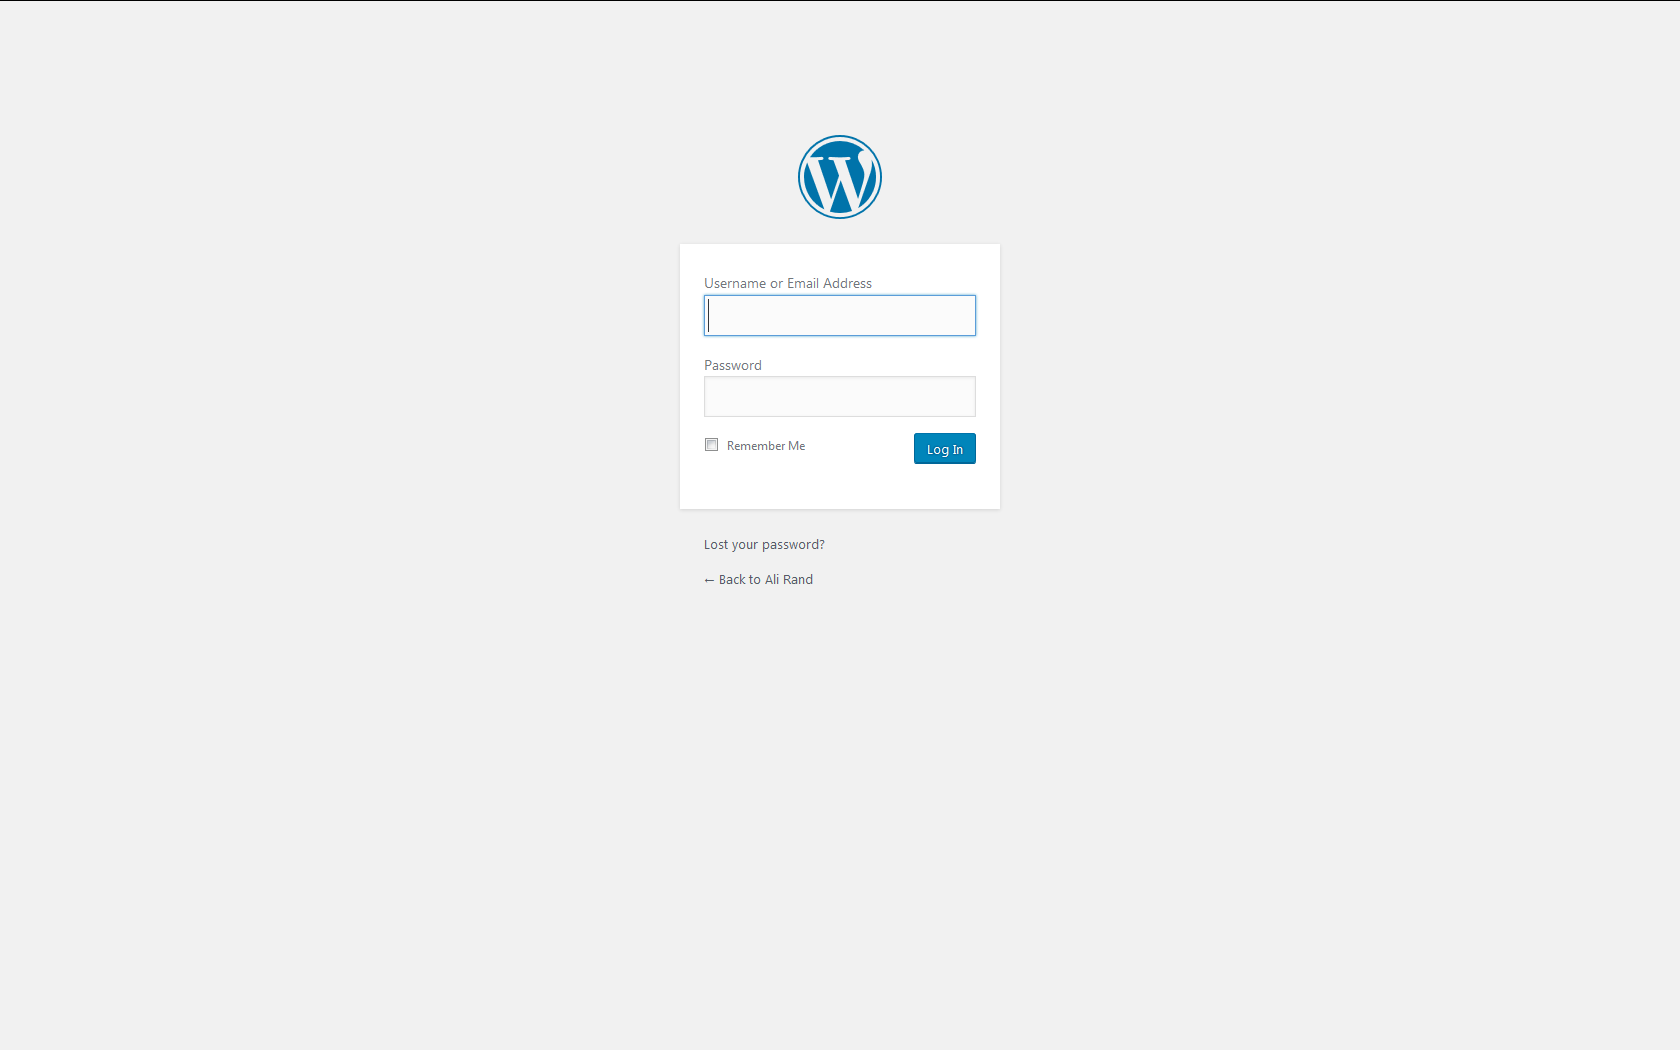
From now on, you can login to WordPress from yoursite.com/wp-admin. If you need to make other changes to your hosting, you can login to your cPanel.
Setup WordPress
Ok, so now you’ve got WordPress installed and your site is ready for you to make it yours! However before you get itching to go, please do yourself a favor and install a security plugin ASAP.
To do this, look at your left sidebar in your WordPress dashboard and find “Plugins.” Click on “Add New” and use the search bar to type in the name of your desired security plugin.

You can choose a different security plugin, but I recommend Wordfence (it’s free!).
It has scanning, spam comment, login notification, firewall, etc. It’s awesome and the first thing I install on all my web design client’s new websites.
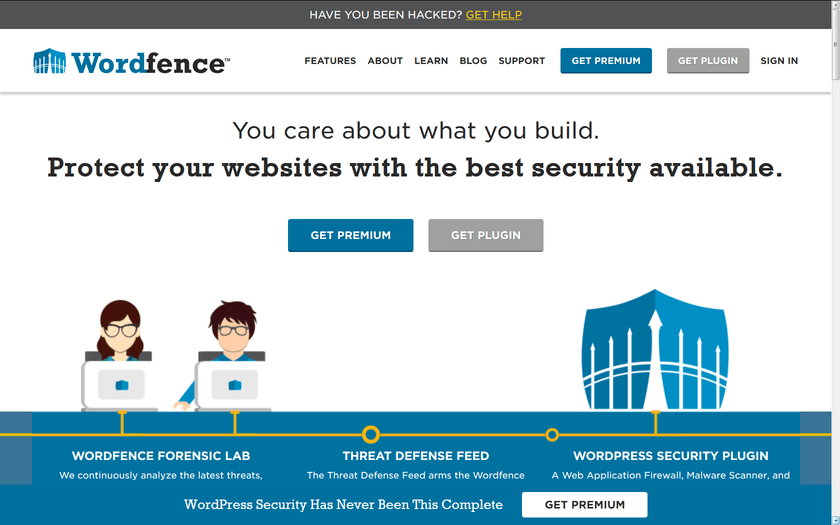
Anyway, once you type your plugin’s name in the search box, you can click to Install it. That installs all the files on your website, but is not “turned on” yet. To turn the plugin on so it can do what it does, you’ll need to click the Activate button. Then it’s ready to go.
You can then view the options for Wordfence on the sidebar.
Also, you may want to install a backup plugin on your site as an insurance policy if something goes wrong down the road.
My recommended plugin is UpDraft Plus. It can do automatic backups and has a 4.8 star rating from 2,498 WordPress users (as of publishing this post). There’s again a free version and a premium version that has more options.
>> Click here to get UpDraft Plus!
After you’ve installed your security and backup plugin, it’s time to go over to Settings (in the sidebar) and get some things squared away.
I recommend just going through each section of Settings and customizing them for your liking.
In General Settings, you can change your site title and tagline to reflect your business and update your email address and time zone.

In Reading Settings, you can change how you want your home page to be. If you want your home page (like example.com) to be your blog posts, choose “Your latest posts.” Or else if you want it to be a certain page (which will be created later), you can choose “A static page.” You can always change this to be the page you want once you’ve created it.

In Discussion Settings, you can decide how you want comments to work and notifications to be sent. I recommend you manually approve comments, so you don’t have spam comments showing up. And if you installed Wordfence, it does a great job at filtering out spam comments in the first place.

And if you go further down the page, you can choose how you want your avatar to look. An avatar is the picture that will be displayed next to your name when you’re logged in or when you comment on any blog posts.
There are several options to choose from, but I recommend doing it on Gravatar so you can upload your own photo. It’s a free site and when you use that email on other sites, your photo should auto-populate.
![]()
And then there’s Permalink Settings. This is important for SEO as your blog posts will need a permalink structure that tells visitors (and Google) what they are about.

So, choose a structure that reflects the post name. You want something like example.com/blog/article-name or just example.com/article-name. If you want categories, you can also set the structure for that like example.com/category/article-name.
Just don’t do example.com/281. Just don’t.
Section 2: Customization
You’ve now finished prepping your site and are ready to start building it out! Now the fun really begins!
If you don’t have a clear plan on how you want your site to look, then you probably want to view this post on designing and planning your website. If you follow through those steps, the next few will be easy as you’re just building from the blueprint.
Theme
While WordPress has default themes installed for you to use, like Twenty Seventeen, more like than not, you’ll be wanting to use a theme that is better designed for how you want your website to look.
If you don’t have a theme picked out yet, you can get guidance on choosing one here:
But assuming you do have your theme chosen, you’ll need to install it on your website. You’ll go to Appearance on the sidebar and then you can click the “Add New” button.
You can either search for a theme in the search bar or click “Upload Theme” at the top of the page. This allows you to upload your theme’s zip file that will be then uploaded and installed on your website. If you’ve purchased a premium theme from a site like ThemeForest or Elegant Themes, then they will give you your file to be uploaded this way.
Once you’ve either chosen or uploaded a theme, you’ll need to activate it. If you go back to Themes, you’ll see a grid of your available, installed themes. If you hover over the desired theme, you can see a button below to “Activate.” Make sure the theme you want is activated.
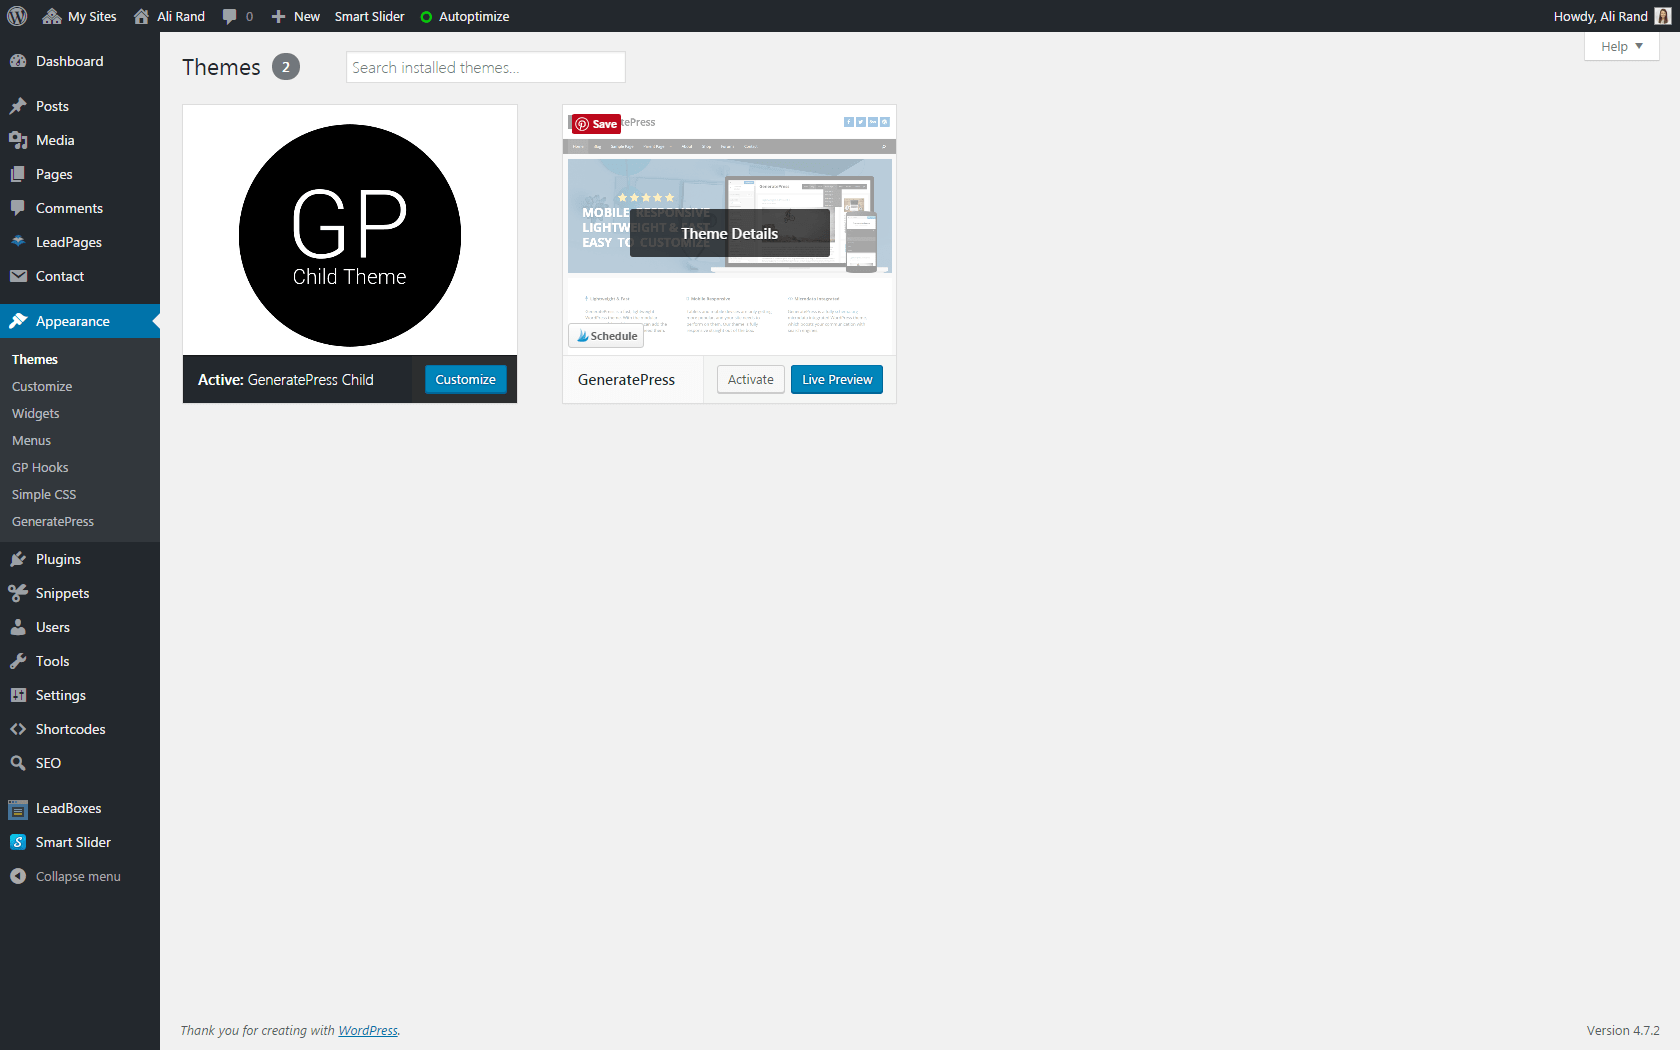
And if you’re curious, the theme I use is GeneratePress. It’s an incredibly FAST, lightweight, and SEO focused framework to ensure fast load time and higher search rankings. It’s easy to customize later, and has phenomenal technical support as well.
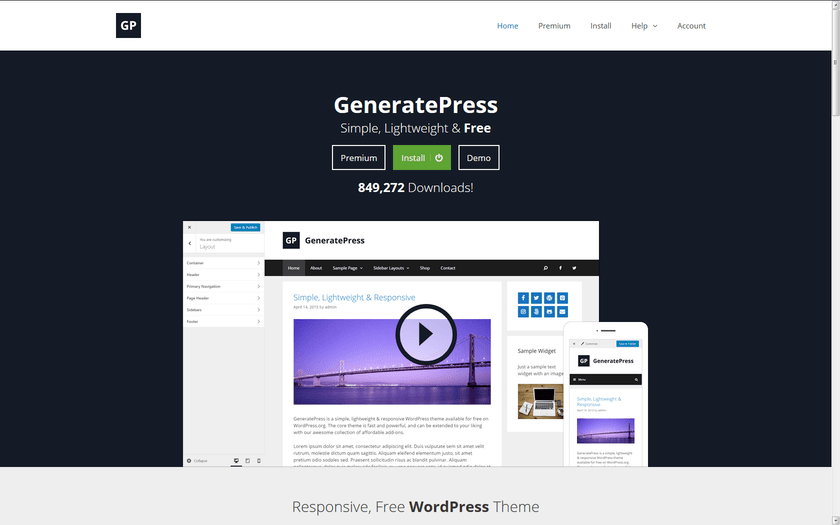
>> Click here to learn more about GeneratePress
Child Theme
The next step for you to take is to install a Child Theme. Basically, WordPress looks to your main (parent) theme to display how your website looks, and then it will look to your child theme for further customizations.
This can be necessary because you will eventually need to update your Parent Theme. This update will overwrite all the old code with new/updated code. So if you had put your customizations in the main parent theme, they would be wiped out and you’d have to start over.
That’s why you should never put your Google Analytics tracking code in your main theme’s head area. Always put it in the child theme or via a Header and Footer plugin.

If you’ve purchased a theme, most likely they have included files for a blank Child Theme. You will upload it to Themes just like before and then Activate it. You can have more than one theme activated at the same time, as it looks to see if there’s a corresponding “parent” theme to draw from.
If you don’t see a blank child theme in your files or if you’ve gotten a free one, you can research how to make one.
And if you’re using GeneratePress, you can easily download one here.
Design Tip:
To add custom styles to your site via CSS, use this great lightweight plugin, Simple CSS. It won’t be wiped out and it’s easier to write to.
Coming Soon Page
Ok, so now WordPress is ready and your theme is ready. Now you just need to start creating pages and content.
You can just build and that will be fine, or else you can place a Coming Soon page to display as your website’s home page. It won’t have any links or menu items so no one can get into your “work in progress.”
But it’s a great way to build anticipation and even get people on your list before your site launches officially to the world, by placing a lead magnet to entice downloads.
The easiest way to do this is with a Coming Soon plugin.

Build Your Site
Alright, so now you’ve got a Coming Soon page for visitors and you want to start building the site behind the curtain.
If you’ve got your Site Architecture down, you know exactly which pages you need to make.
So all that’s left is to make them come to life.
If you’re unfamiliar with using WordPress, you can read this post about building your site with WordPress. It will go step by step about creating new pages, adding media, menu items, footer, etc.
But if you are familiar with WordPress, you can just continue reading!
Pages
Because the next step of building your website is creating your pages. You’ll insert your copy and any images you need.
To get help choosing what types of images to place on your website and how to do it correctly to boost your SEO, read this post:
A lot of times themes make designing your page easy with cool features to make columns, full-width sections, video sections, etc. So depending on your theme or coding abilities, you can make really interesting pages.
Other Features
Some other features you might want to add are:
- Plugins (like WordFence, Google Analytics, The SEO Framework)
- Logo
- Favicon
- Menu
- Footer
- Sidebar
For a complete list of over 40 things your business website should have, check out this post:
Colors
Once you’ve built out your website, you can add the final touches with color! A lot of color options can be edited via the Customizer. Just remember to use the same hex codes, like #CEA453, so your colors stay consistent!

You can also change colors directly from your pages if need be. That’s helpful if you want a background section of your page to be a certain color or if you want to change some words to a certain color.
Social Media Integrations
If you have a blog, don’t forget to make your posts easy to share to increase your social reach.
There are so many options out there to decide what you need, but I have a handy post that covers ideas and specific plugins I recommend.
Section 3: Final Checks
Once you’re happy with how your website looks on your desktop, you could theoretically launch your site. You could take down your coming soon page and be on your way.
BUT if you want to go further and make sure your website is on its A game, continue reading.
Search Engine Optimization (SEO)
For an easy SEO boost for you website, install an SEO plugin to your website.
I recommend The SEO Framework as it’s easy to use and is lightweight for better SEO performance. Or Yoast is also popular.
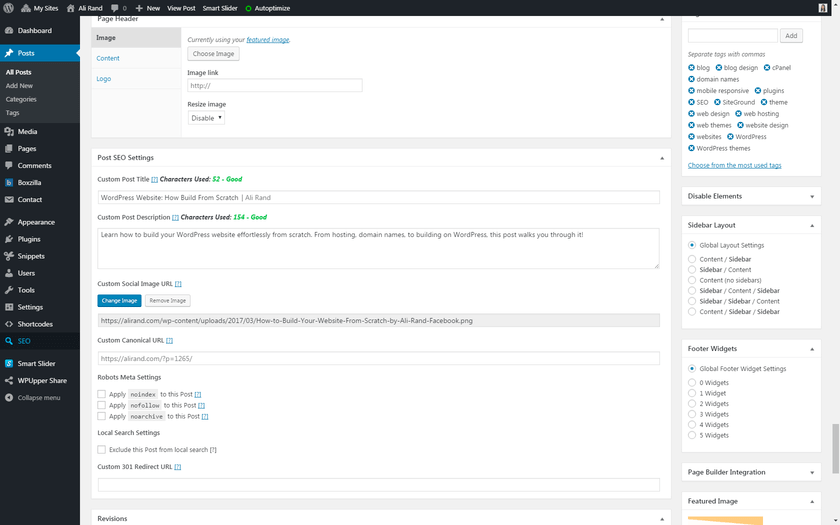
Once it’s installed and activated, you can insert Title Tags and Meta Descriptions for your pages. It uses colors to show you the optimal length so try to make them all green! Of course, it’s better to have your keywords for these sections researched, but if you don’t have that, just try to include some keywords you want to rank for.
And once you’ve finished with your SEO, I recommend you run your site through a free service like SEO Site Checkup. It will analyze your site and offer recommendations to improve your SEO.

Sitemap
Your SEO plugin will also provide a sitemap that you can submit to Google. If you sign up for Google Search Console, it will search your site for a sitemap and then once found, that’s it!

You can always resubmit sitemaps to make sure Google knows what pages you have. Share on X
Mobile
While those SEO measures will help your site, having your site mobile responsive is also crucial.
You can view how your site looks in WordPress Customizer by clicking the tablet or phone icon. If things aren’t displaying properly, you’ll need to fix it (or find someone who can edit your code, if necessary).
You can then check how your site is on Google’s Mobile Friendly Test.

Performance Review
And lastly, you’ll want to make sure your site is performing well for visitors. I recommend you run your site through a free analysis service like GTMetrix. It will analyze your site and offer recommendations for how to decrease the time it takes your site to load.

And if you’re concerned about accessibility, which makes your site for accessible to visitors with disabilities, you can have your site analyzed for free at wave.webaim.org.
Launch Site
So once you’re happy with your site, and ready for the world to see it, it’s time to launch!
Take down your Coming Soon page and make sure your Front Page is set to your blog or the page you want designated as your home page.
Then it’s time to celebrate and let your friends and network know your site is live!
And you should celebrate, because you’ve done so much hard work making this happen. You’ve just built your own website!
Then what happens next…?
You’ll need to have a solid website maintenance plan in place. See the steps here, so you don’t lose all your hard work to hackers or breaks!
Conclusion
So now you’ve built your own website! You’ve brainstormed, planned and built your web baby. How proud are you??
I know there are a lot of steps, but it isn’t too daunting once they are broken up into actionable chunks.
But now the hard part’s over…you just have to keep your website safe and running smoothly. To learn how to do that, I’m offering a FREE 5-Day Worry-Free WordPress Course. It covers everything from securing your site to backing it up and even protecting yourself legally. That way you’ll have peace of mind knowing your site is safe and protected!
>> Learn more about this FREE course here
And don’t forget to download your checklist to make sure you don’t miss any steps!
Some of the links contained in this post are affiliate links. This means that I may receive a commission if you click on the link and make a purchase from the affiliate. I only recommend products and services that I know or trust to be of high quality, whether an affiliate relationship is in place or not.




16 thoughts on “How to Effortlessly Build a Website from Scratch”
So much resources, I wish I read this article before launching my website <3
Thank you, Dalal! Well, if you ever re-do your website, I’m sure this will help you.
Wow. Thanks. Such insightful information. Just seen new pointers that I can actually check in to.
Thanks Mary! I’m so glad you got ideas to make your site better!
I love all the SEO tips!
Glad you love them Naima! Thanks for reading my post!
Great post! I’m saving this to come back to later as I’m currently building and adding to my new website! Plans are done and the building continues 🙂
Hi Lisa,
Aw thank you! Awesome that you’re building you site. And well done for having a plan beforehand. I’m sure that will make your build easier!
This is a brilliant and easy to follow guide for everything! Wow, just wow, congrats Ali, you have done a fantastic job with your site, your clients sites and your blog is so dang value packed.
Thank you!
Thank you so much Tammy!! I really appreciate your kind words…it means a lot. And I’m so happy you’ve found my blog valuable! I try my best to make sure you know exactly how to do things lol! Thanks for commenting!!
You’re amazing for spending so much time to put this together! It;s one of the best of it’s kind I’ve come across so far. Well done you! And all the best
Hi Joleisa,
Thanks so much for your kind words! And I did spend a lot of time lol. But I think it’s worth it for those starting out. Thanks for commenting!!
Thank you for sharing this article. It will really help me Such insightful information really brilliant and easy to follow guide for everything.
this is one of the best guides I’ve seen (thanks pinterest!)
Thank you so much for sharing such a nice content. Learned a lot.
Glad it helped!